RMsis version upgrade is essentially in four steps:
...
Take backup of existing RMsis database.
Postgres
Code Block language bash title Postgres database backup $ pg_dump rmsis_database_name > backup_file.sql
- For more options, please refer to PostgreSQL database documentation: https://www.postgresql.org/docs/current/app-pgdump.html
MySQL
Code Block $ mysqldump -uroot -ppassword rmsis_database_name > backup_file.sql
- For more options, please refer to MySQL database documentation: https://dev.mysql.com/doc/refman/8.0/en/mysqldump-sql-format.html
Microsoft SQL server
- Oracle Database
Prepare for upgrade
- In the absence of active support, RMsis instance can not be upgraded to newer versions.
- In support is not active, you can continue using the existing version.
- Login as administrator and Switch to RMsis Administartion > Configuration tab.
- Check your license details and ensure that you have an active support of RMsis. Check for Support expiry date.
- If you don't have an active support, please renew your RMsis support before upgrading RMsis.
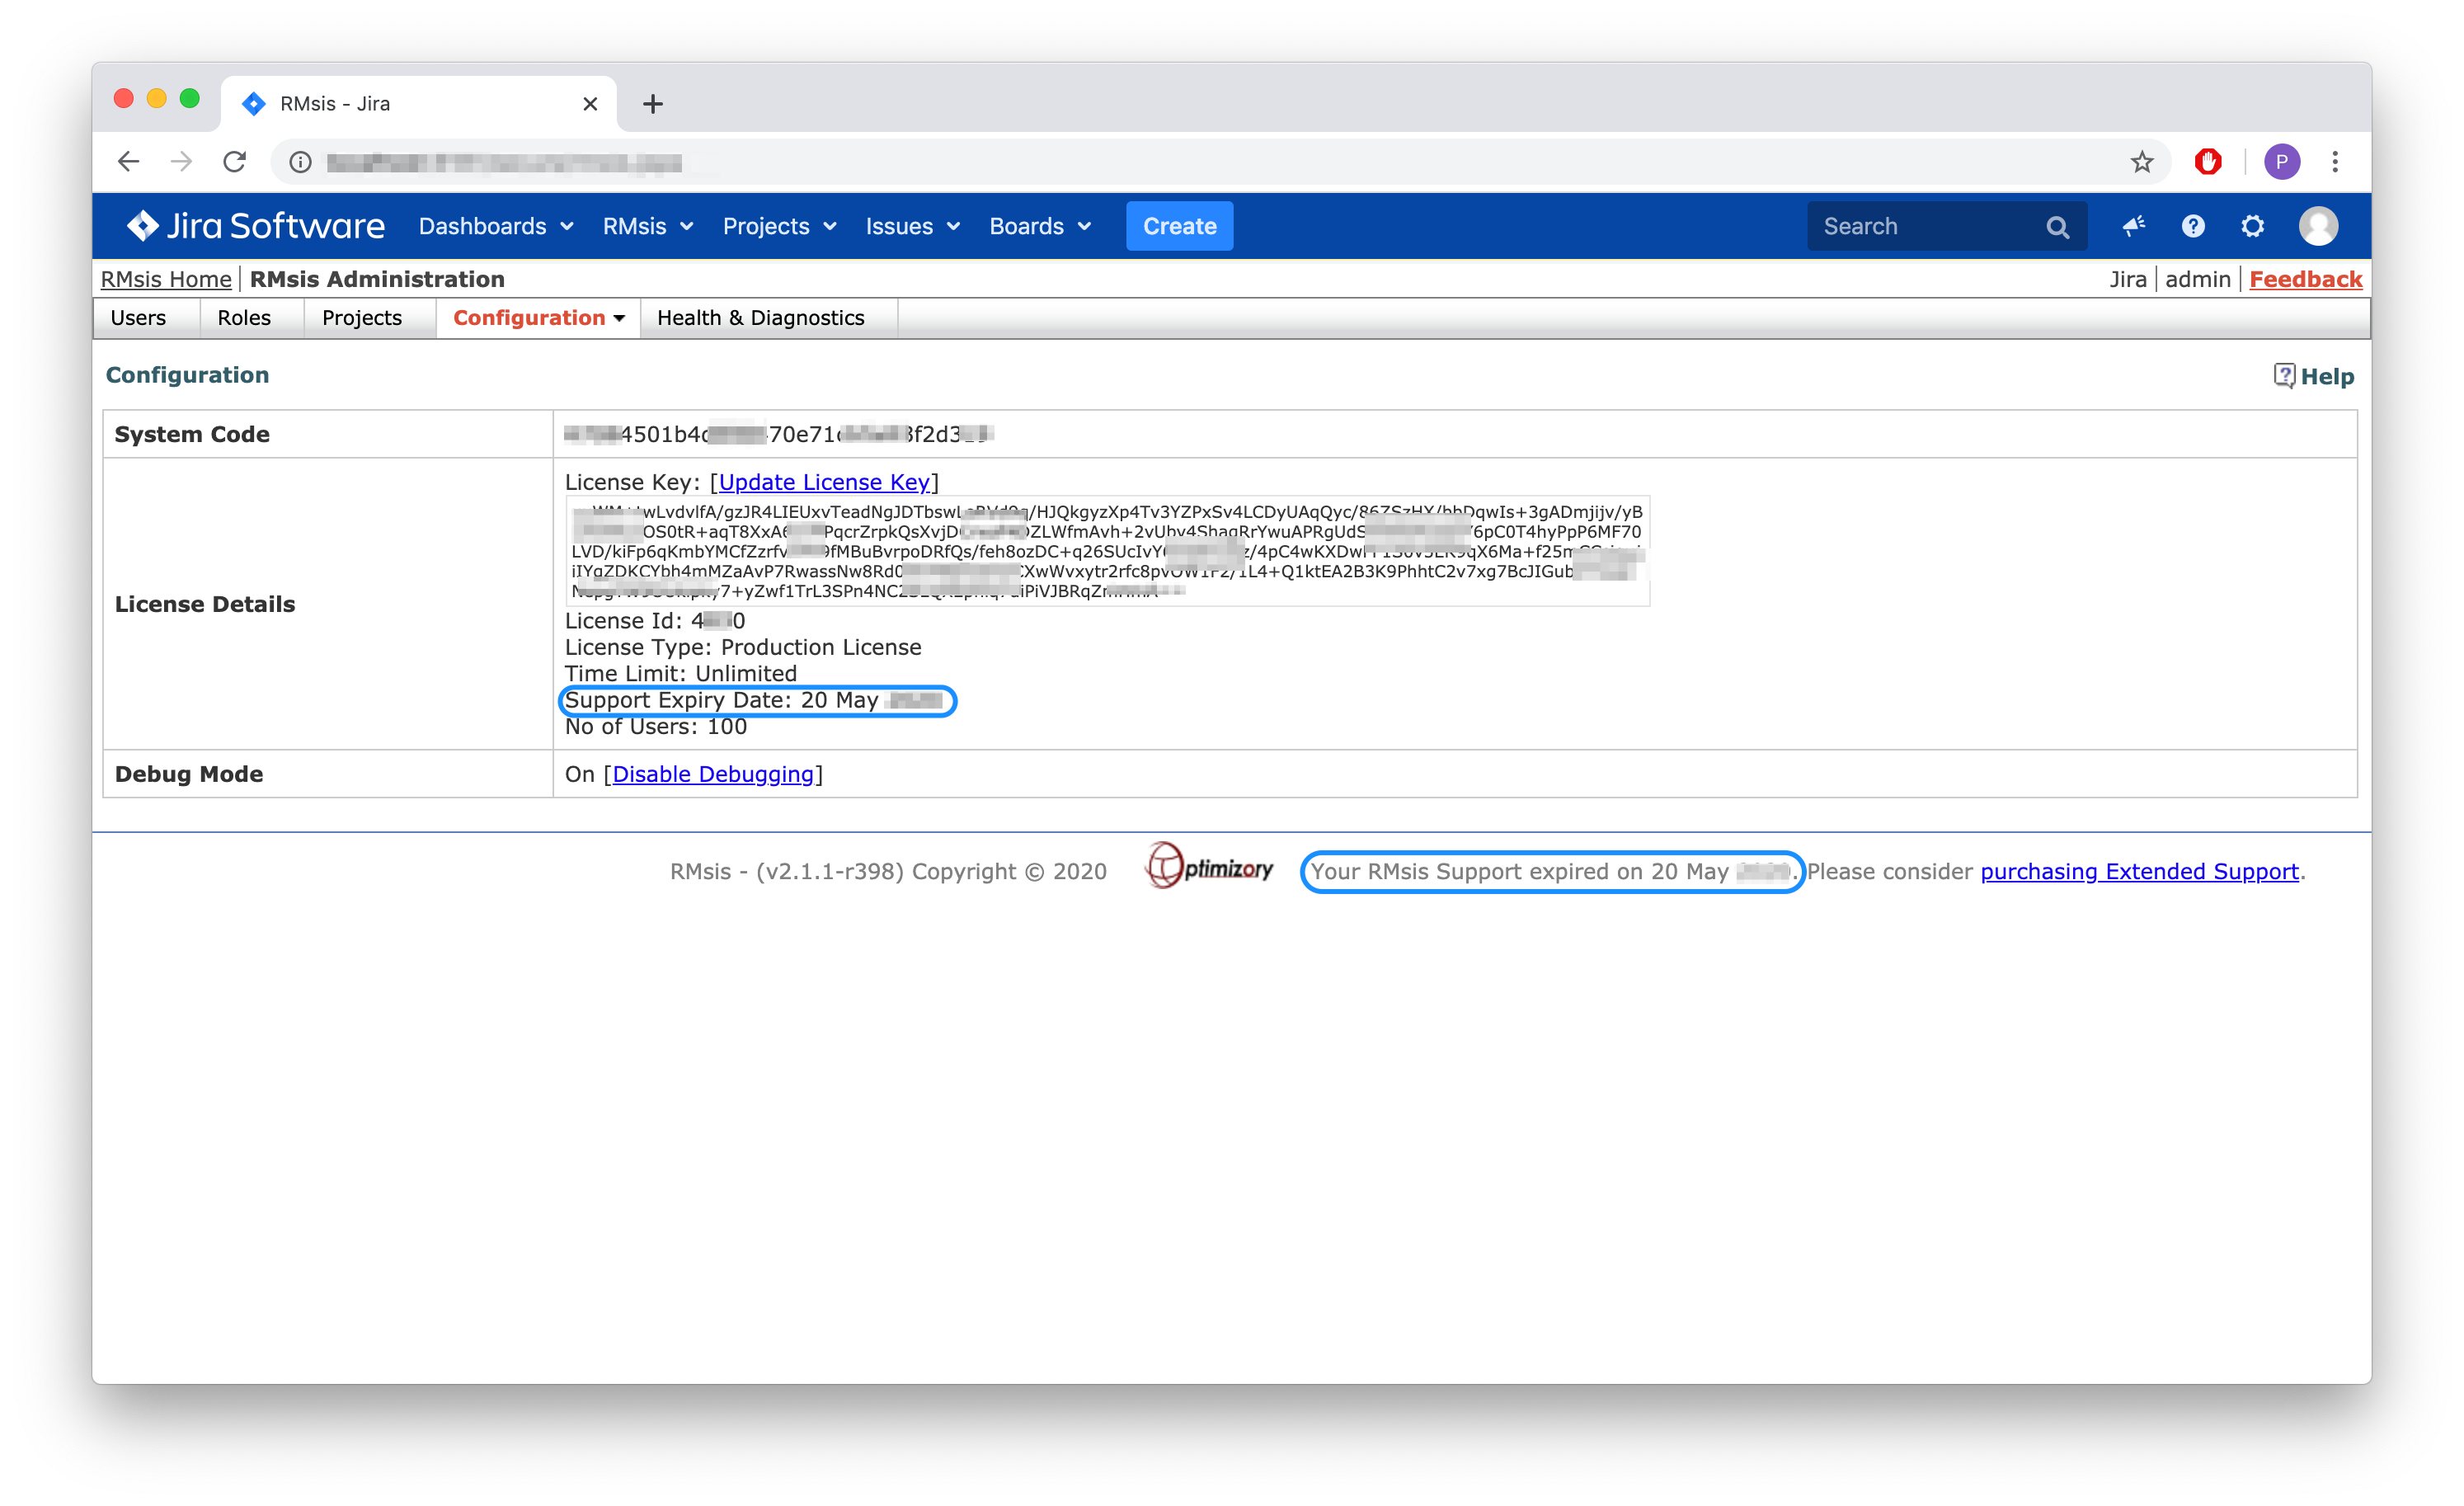
- In the absence of active support, RMsis instance can not be upgraded to newer versions.
- Install the new version using JIRA Universal Plugin Manager
- Automatic installation using Jira Universal Plugin Manager
- Manual install using Jira Universal Plugin Manager
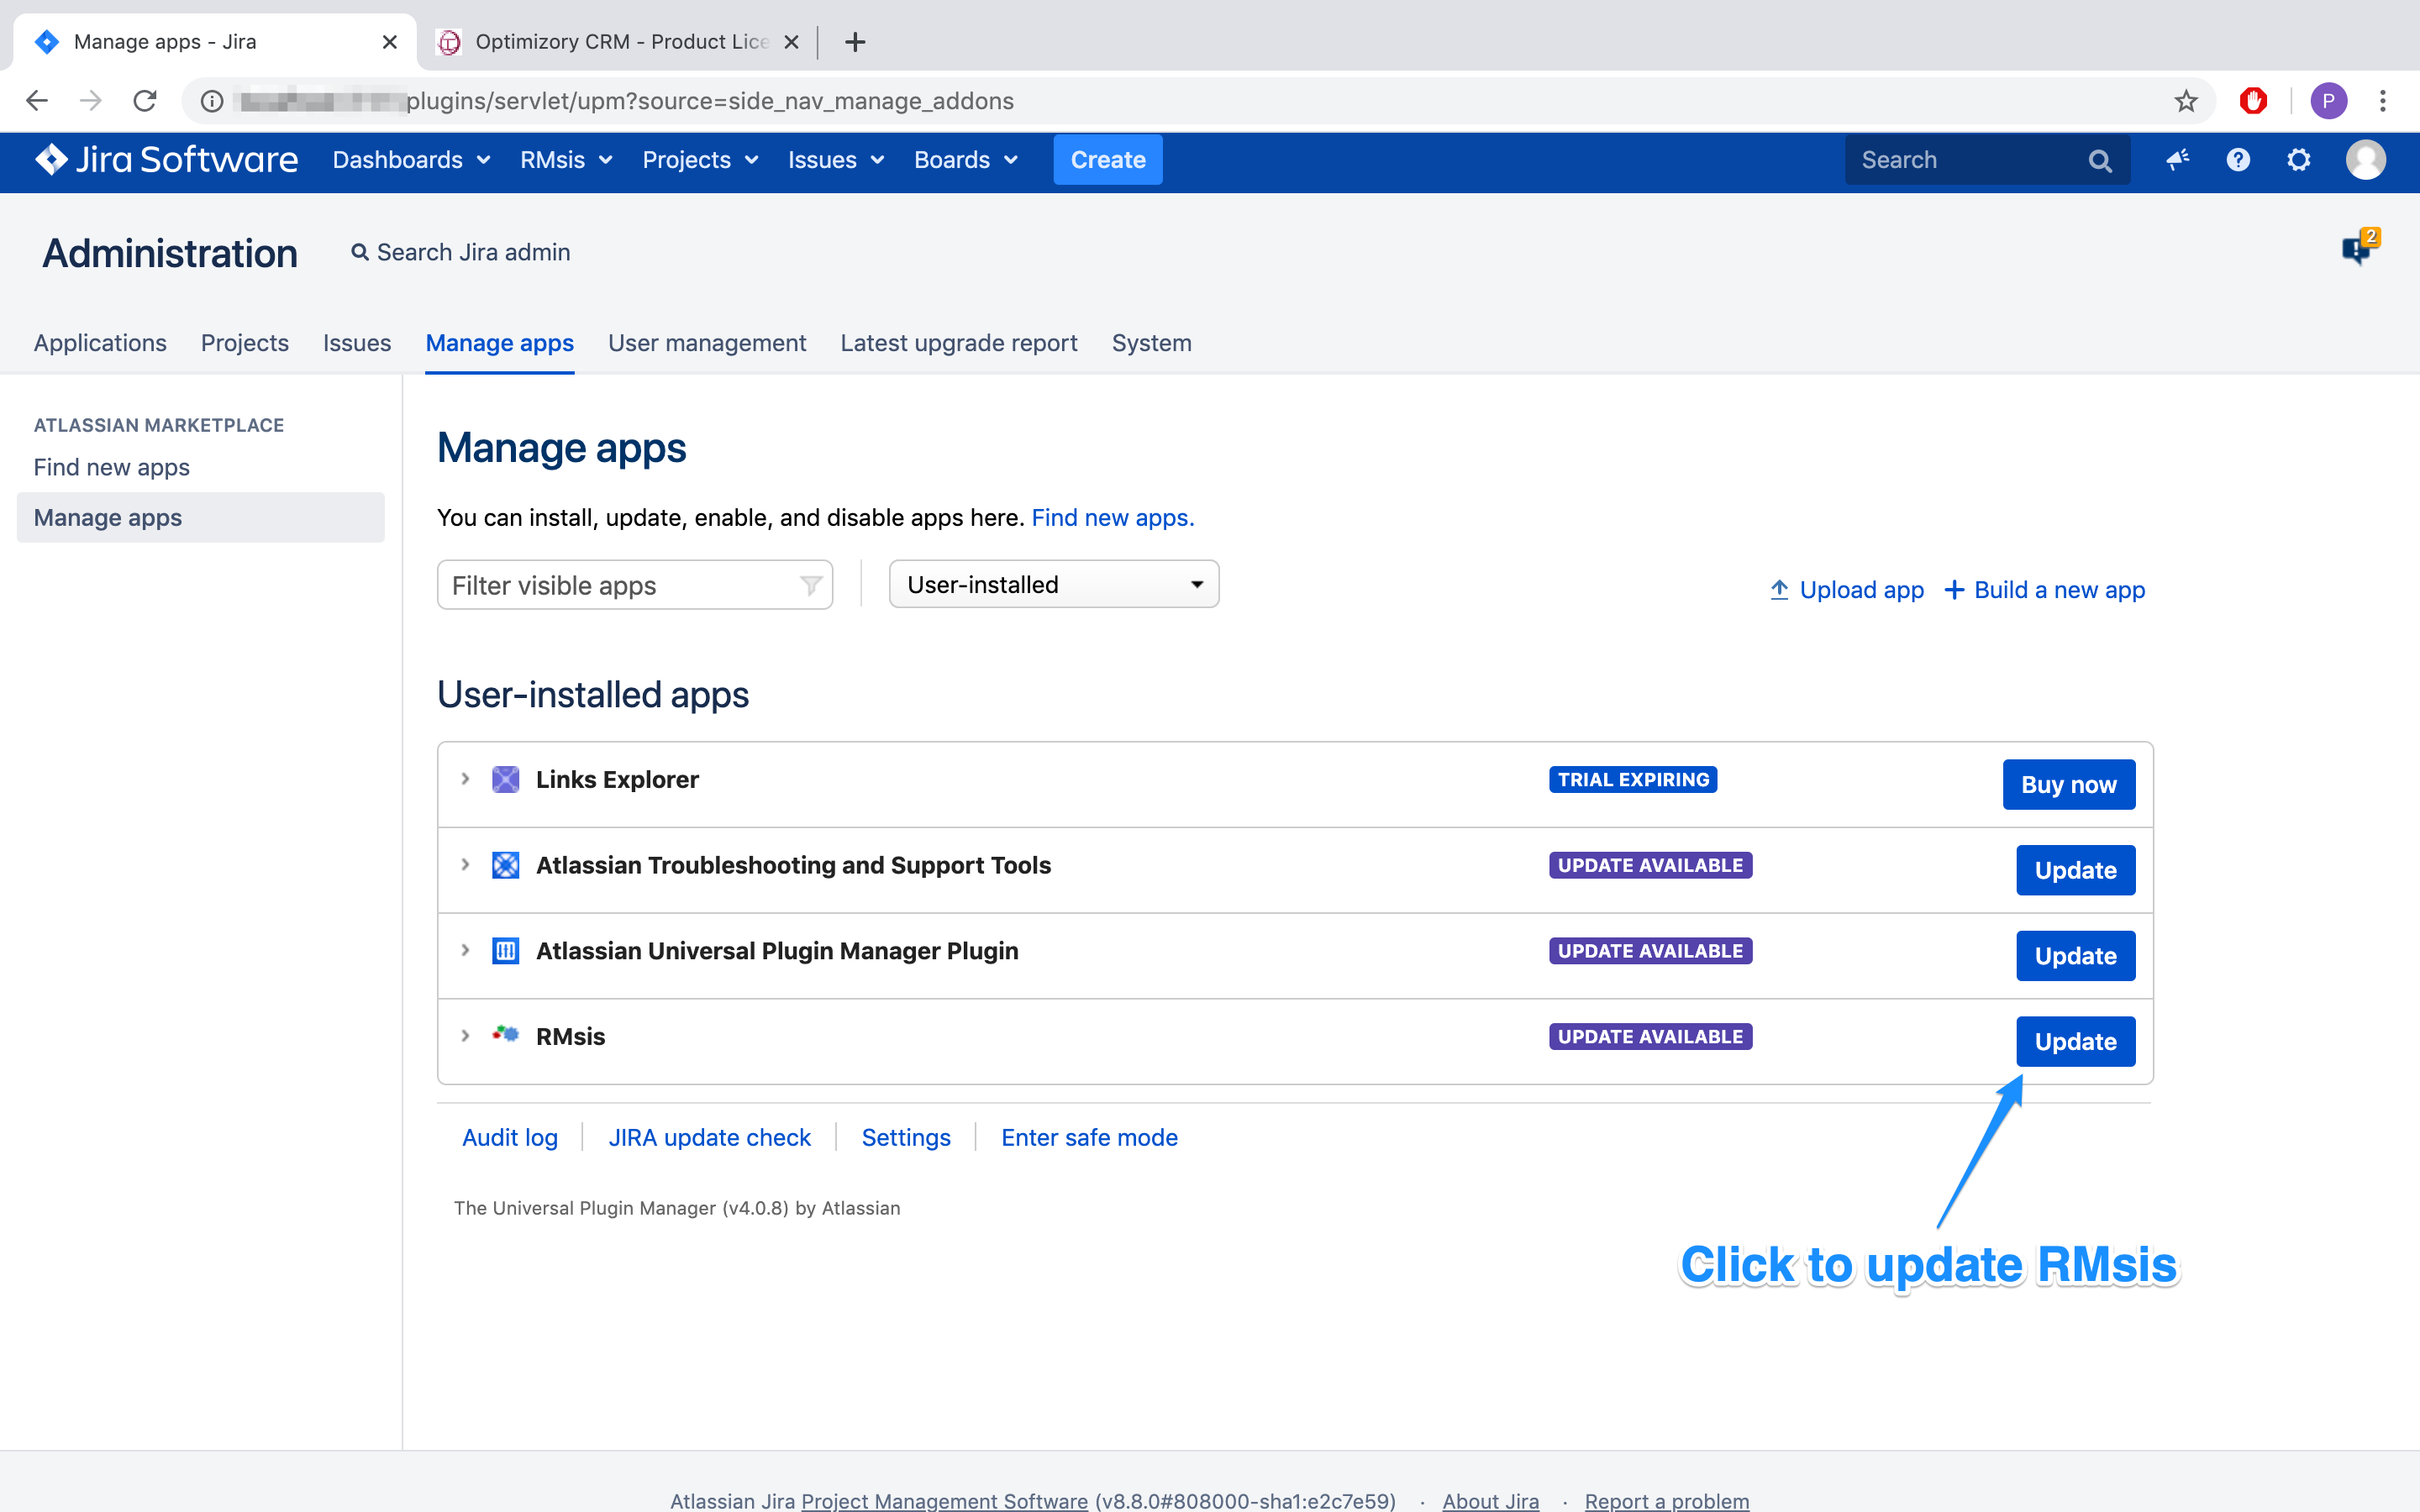
- Login as JIRA administrator and select Settings > Manage apps > Manage Apps
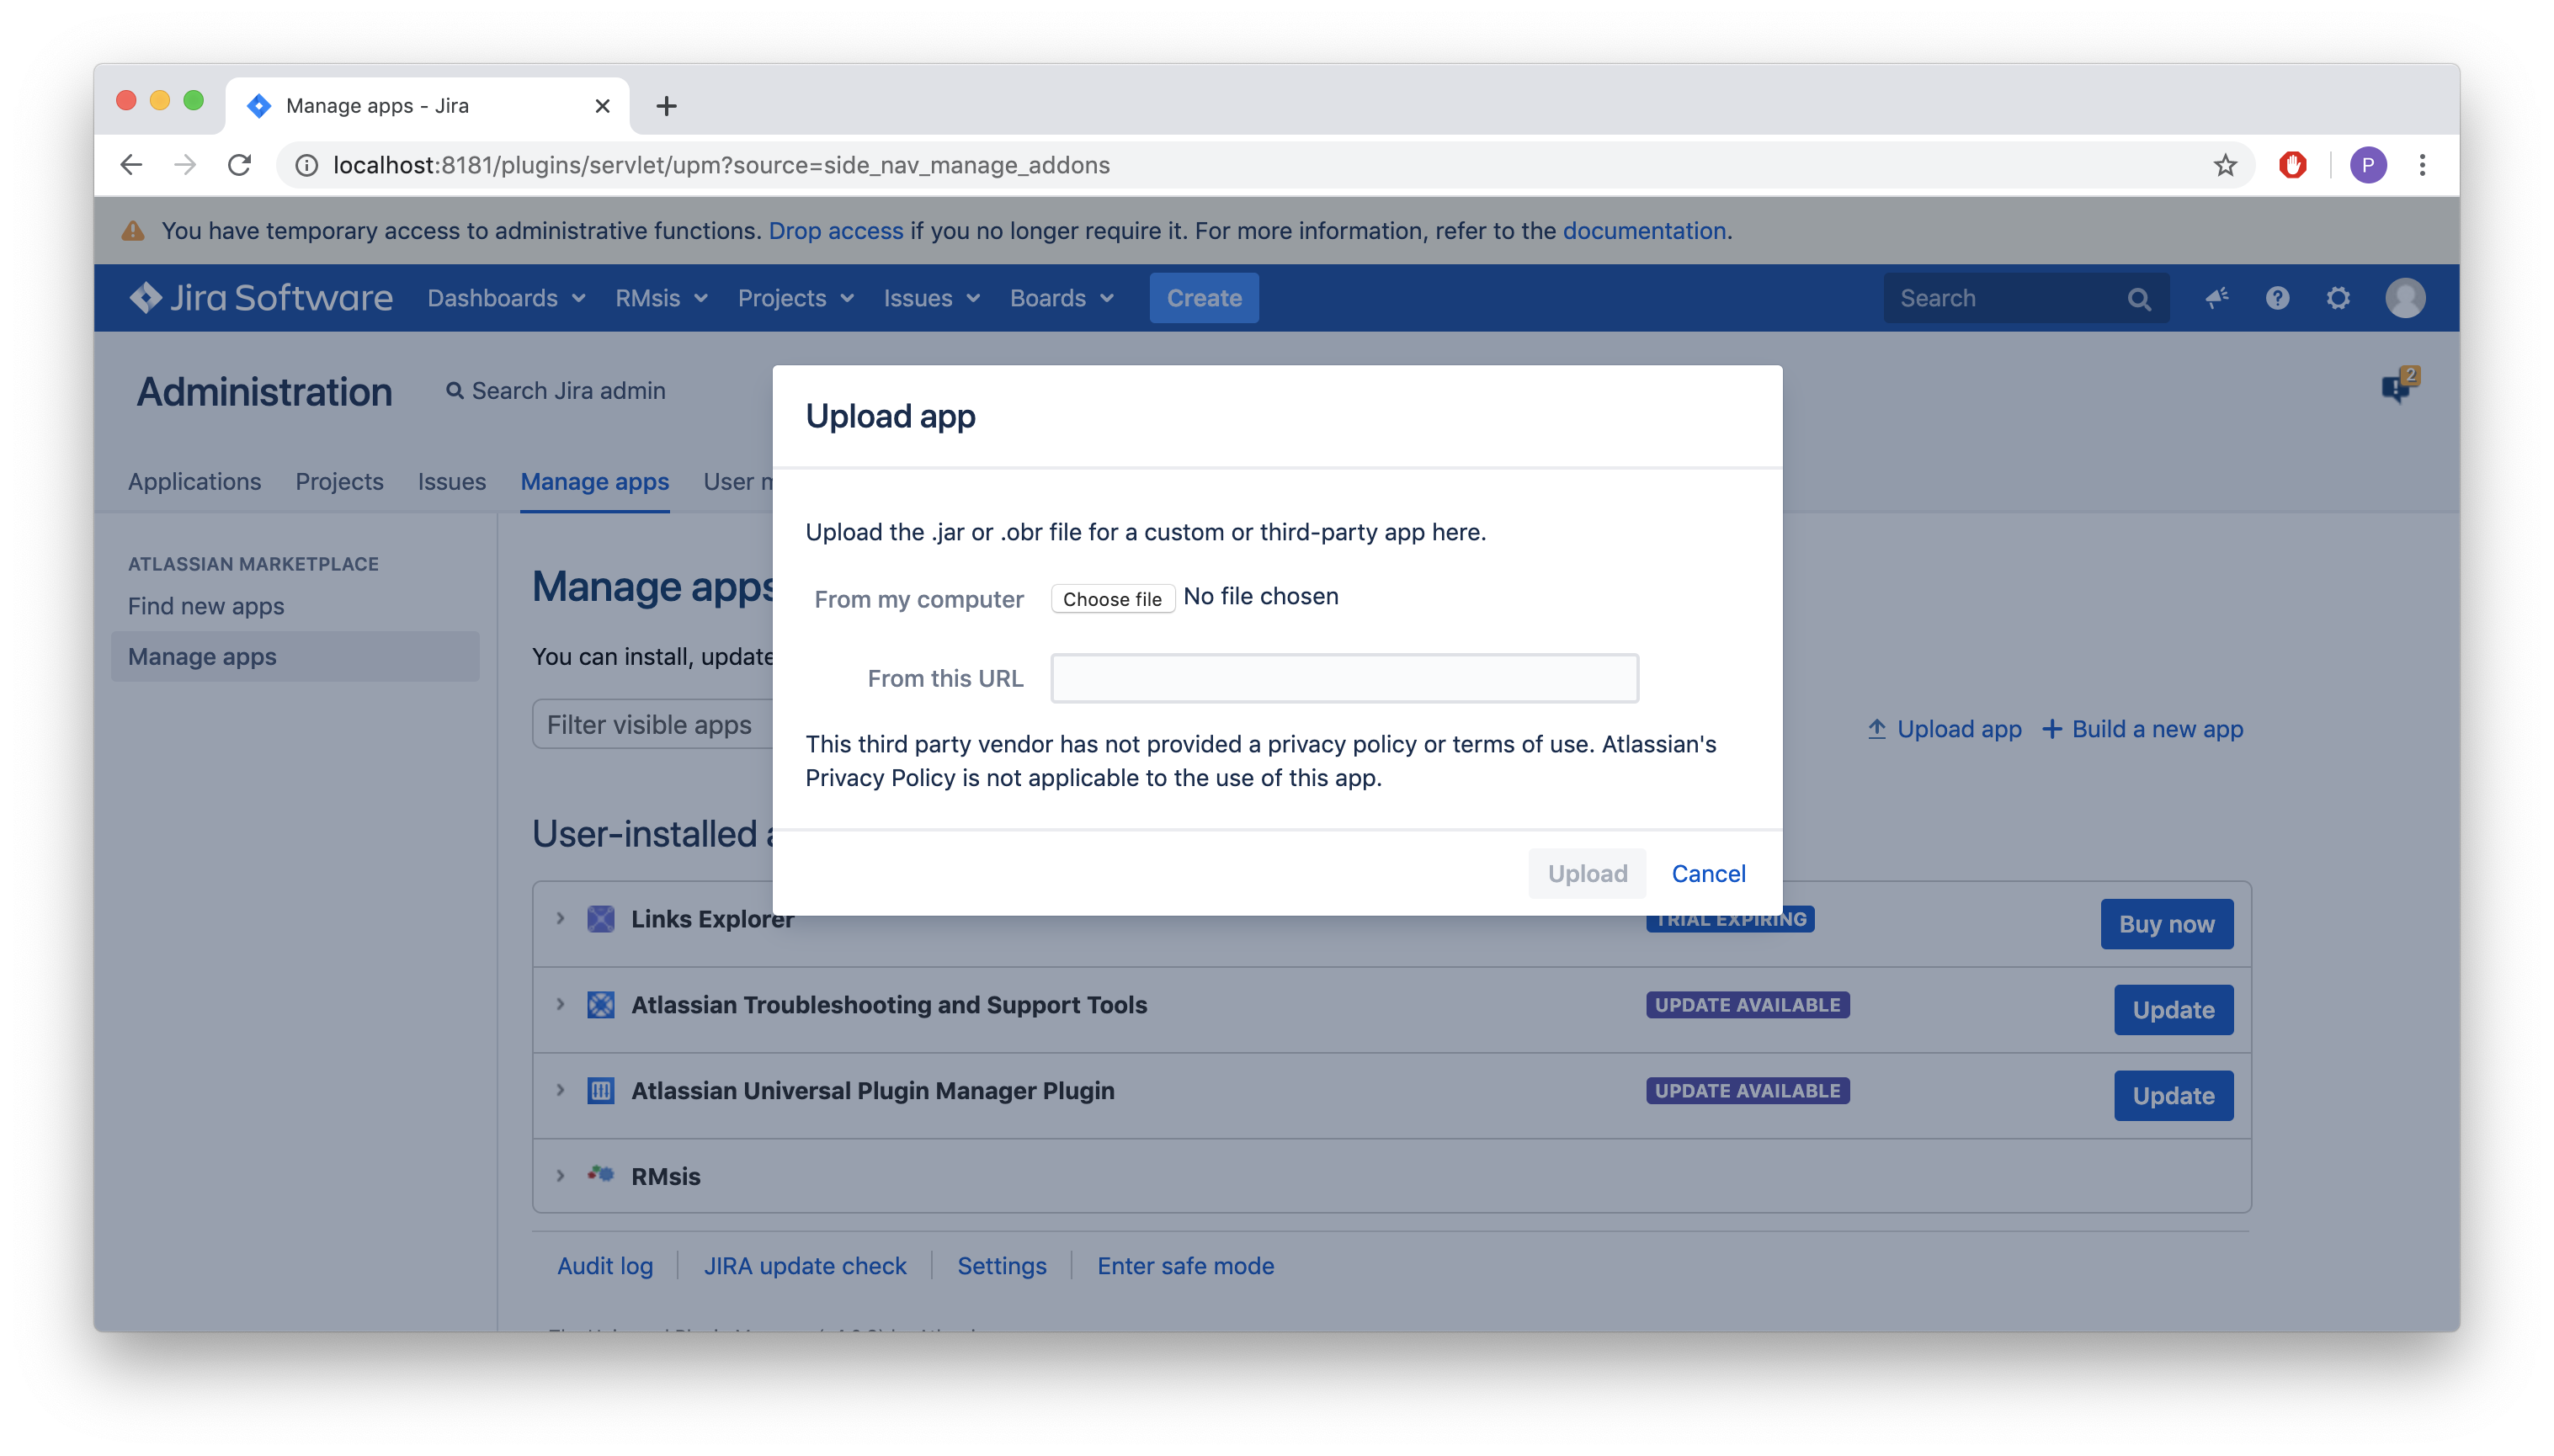
- Get the URL for the desired/latest version of RMsis from httpfrom https://products.optimizory.com/rmsis/download-downloads.html
- Click on Upload app and enter the URL when prompted.
- Alternatively, you can download the Jar file and upload it using Choose file button (Use this option if internet is not available)
- Click on Upload. This will install the latest version.
- Automatic installation using Jira Universal Plugin Manager
- Upgrade RMsis
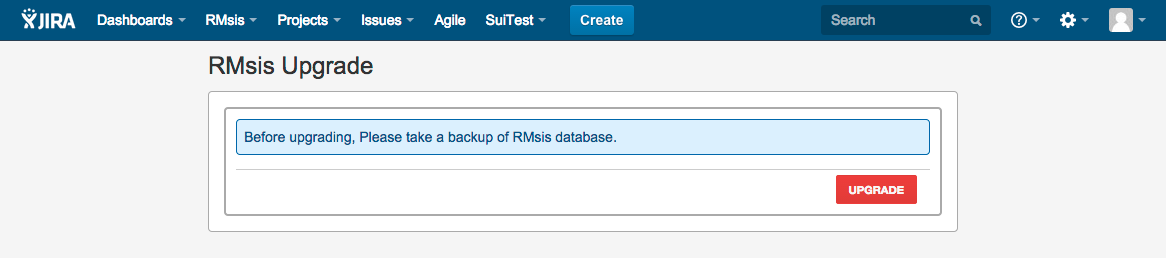
- After clicking on RMsis menu (On Jira Menu Bar) > RMsis Home, the upgrade screen will appear.
- Click on UPGRADE to proceed. You will be redirected to RMsis deployment step.
- In this step, RMsis plugin will install RMsis application with an embedded Tomcat Server.
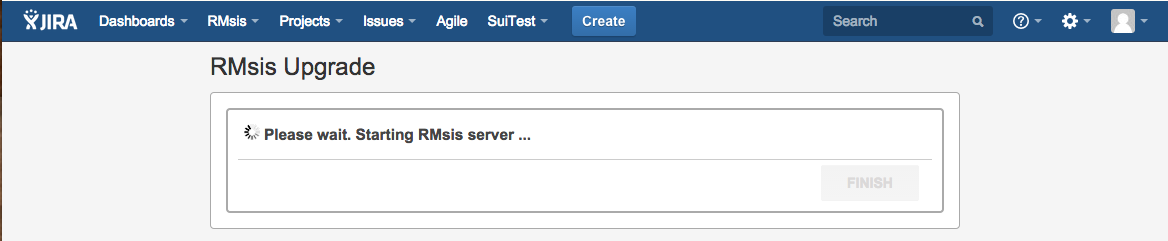
- Please wait for some time (It will take one to two minutes). After RMsis server startup, the screen will show :
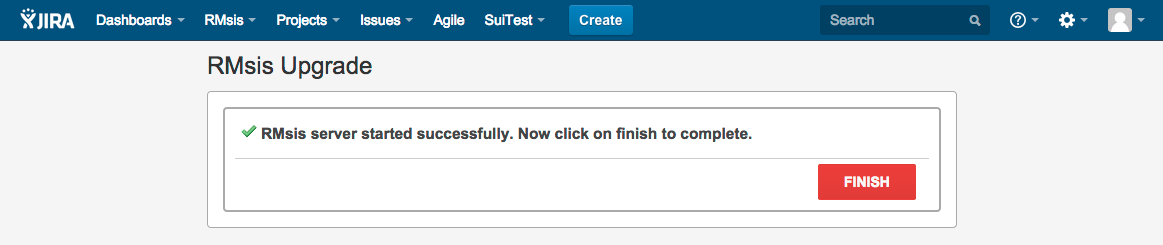
- Congratulations !!! Now RMsis server is upadated successfully.
- Click on FINISH button to complete upgrade process.
- Subsequently, you will redirected to RMsis application.
...