vREST Chrome Extension can be configured by following the steps below:
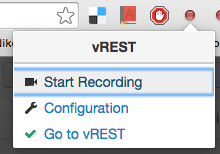
- Click on extension icon in browser navigation bar

- Then Click on "Configuration" Menu Item
- After that vREST Chrome Extension Configuration page will open as shown below:
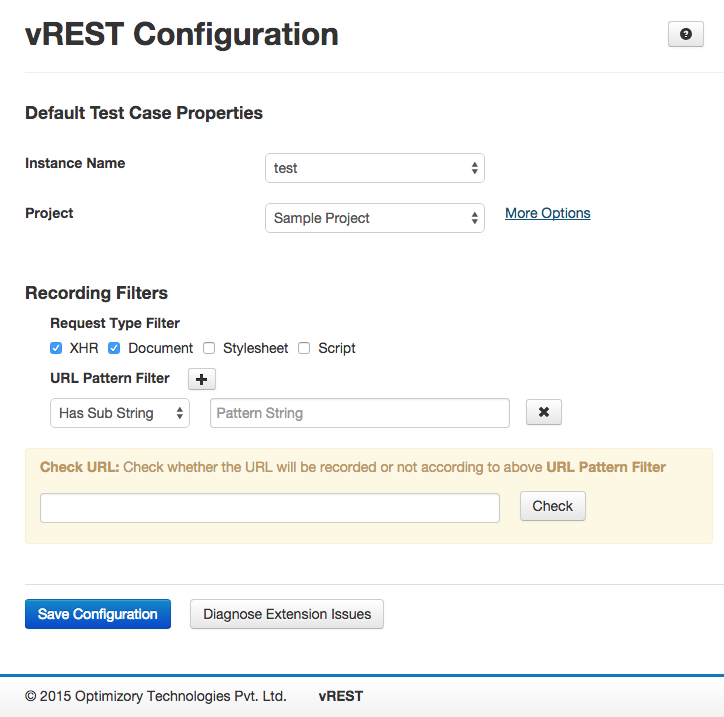
- Provide the following details in the vREST Chrome Extension Configuration screen
- Instance Name: Provide the instance name of the vREST application
- Project: Provide the project name where you want the recorder to store recorded test cases. You can also specify default attributes like Response Validator, Authorization, Versions, Test Suites, Tags etc. for the recorded test cases by clicking on More Options link. Setting these default attributes here will save you an extra effort which you may spend after recording the test cases.
- Filters: Filters specify whether a HTTP request will be recorded or not according to its content type and URL. There are two types of filters applied in the following order:
- Request Type Filter: Request Type Filter records the HTTP requests according to its content type. e.g. if the user has applied filter for XHR then any HTTP request that represents an XHR, will be recorded.
- URL Pattern Filter: URL Pattern Filter records the HTTP request according to its URL. If the URL matches the pattern specified, then HTTP request will be recorded else it will be ignored. The following four criteria can be provided:
- Has Sub String
- Starts With
- Ends With
- Regular Expr.
Use of Filters:
Filters plays a great role in recording test cases. If not properly configured then you will end up having lot of extraneous requests get recorded. Lets understand the vREST configuration filters with the help of an example.